Section 1 · 7 stops
Start reference: s4:82560. 1 glide/drop segments; approximately 0 m of modelled climbing.
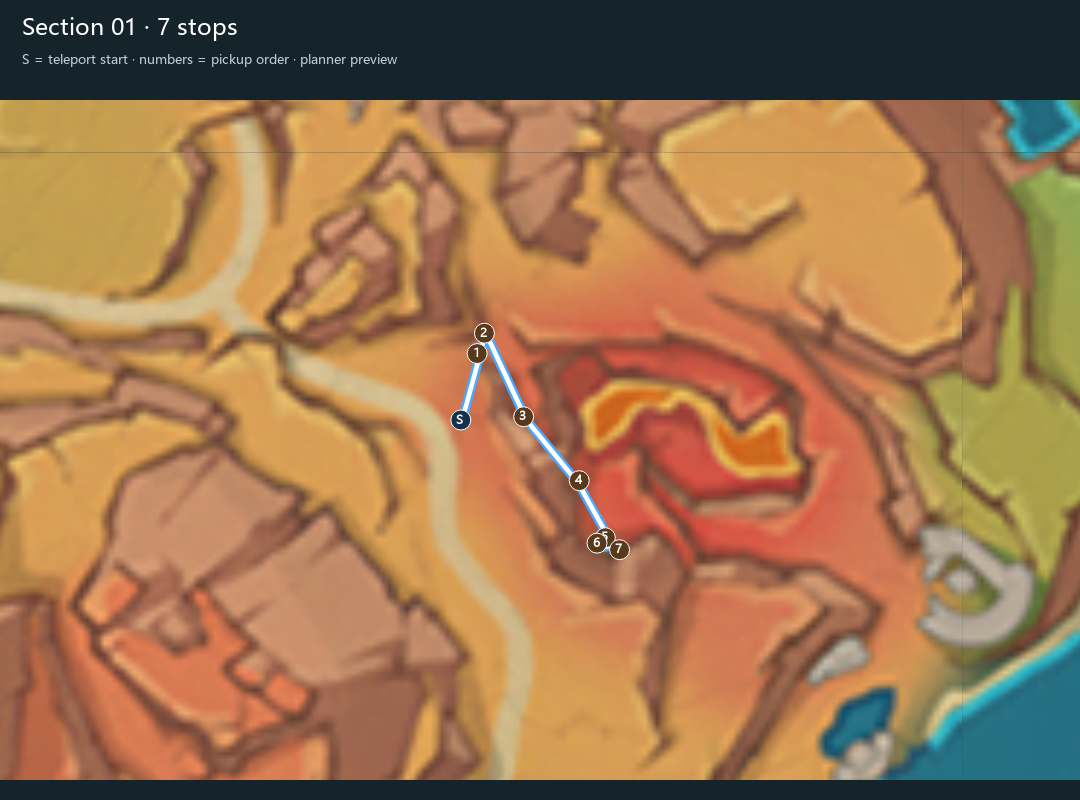
Teleport to S → collect in number order → check your next section for duplicate stops.
OUFLE / FIELD NOTES
A Natlan local specialty found around Atocpan and Ancient Sacred Mountain. Unlock the relevant area and nearby teleport waypoints first. These maps are a planner snapshot dated 20 October 2026, not a claim of complete live-game coverage.
Local specialties normally return about 48 hours after collection; this is not the daily server reset. If a plant is missing, check your last harvest time and the correct elevation.
These are web reference maps. Public Oufle currently offers resource filtering and mini-map tracking; in-game route overlays are disabled in the initial release.
Coverage: 39 of 49 surface source locations. Ten locations without a dry reachable planner connection are omitted. The 14 sections overlap and include alternatives; their counts must not be added.
S marks the start. Gold numbers show pickup order. The route planner does not model every ruin, cave or stamina limit; lines need judgement in game. Nearby labels can overlap—zoom into the full image.
Start reference: s4:82560. 1 glide/drop segments; approximately 0 m of modelled climbing.
Teleport to S → collect in number order → check your next section for duplicate stops.
Start reference: s4:82565. 1 glide/drop segments; approximately 0 m of modelled climbing.
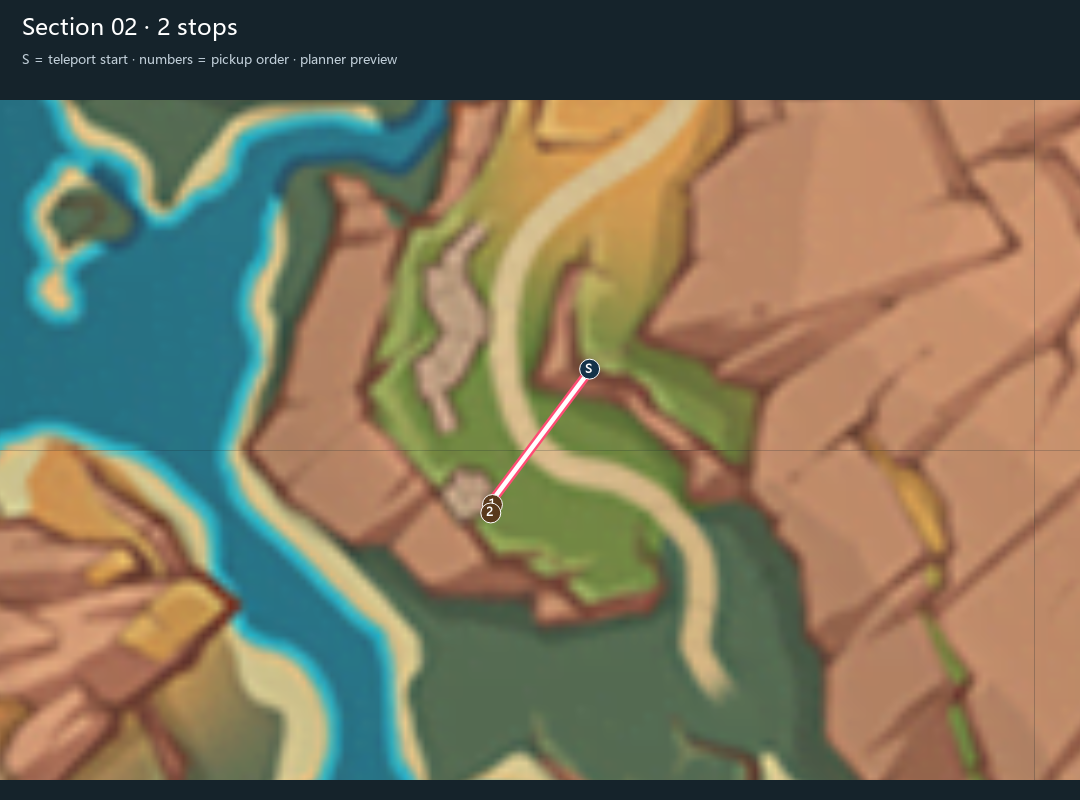
Teleport to S → collect in number order → check your next section for duplicate stops.
Start reference: s4:82560. 1 glide/drop segments; approximately 0 m of modelled climbing.
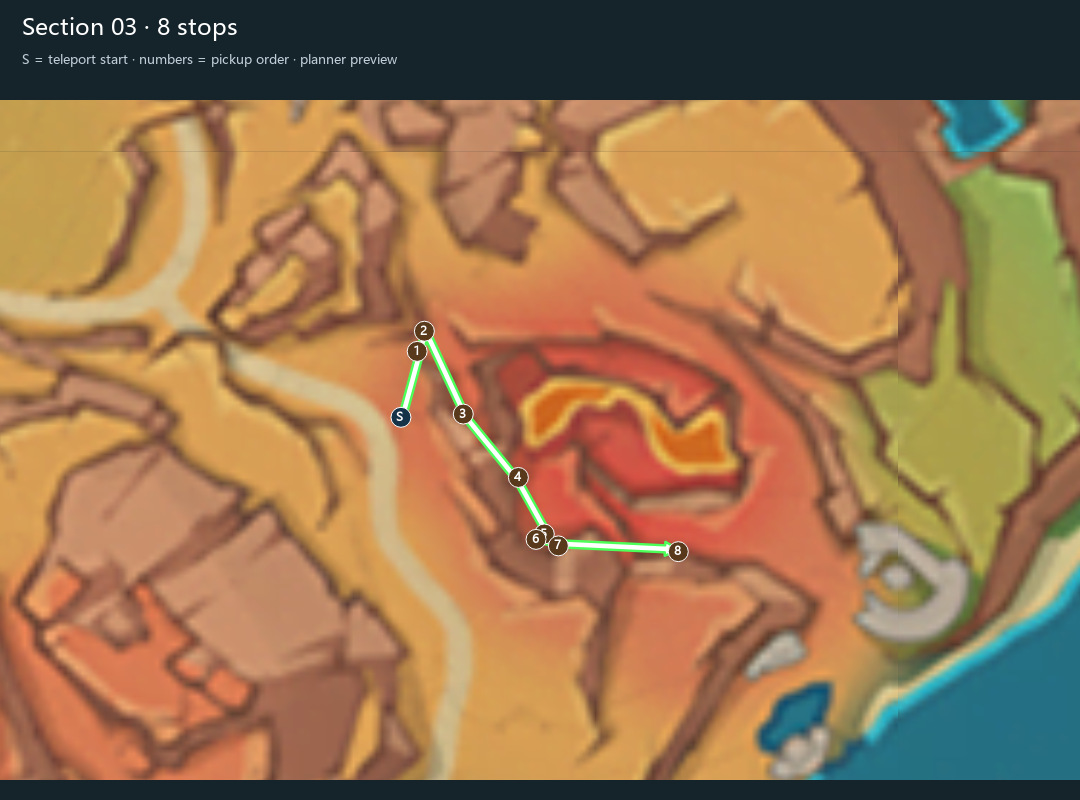
Teleport to S → collect in number order → check your next section for duplicate stops.
Start reference: s4:82564. 0 glide/drop segments; approximately 4 m of modelled climbing.
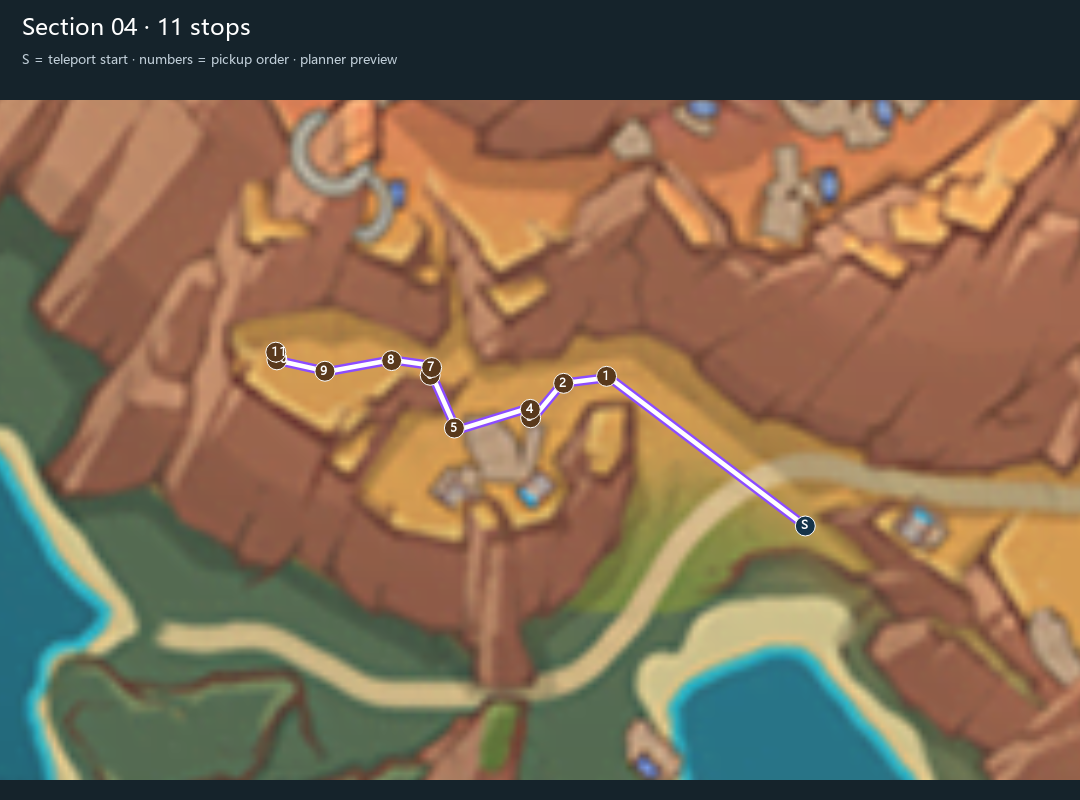
Teleport to S → collect in number order → check your next section for duplicate stops.
Start reference: s4:82566. 1 glide/drop segments; approximately 0 m of modelled climbing.
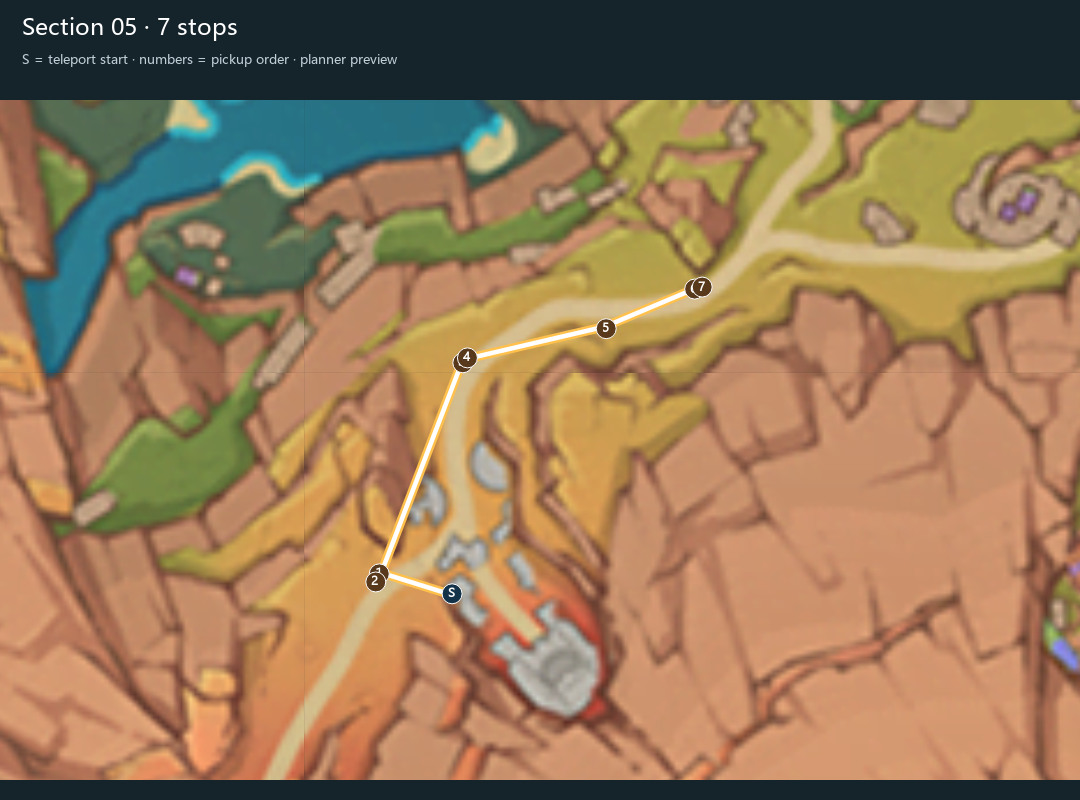
Teleport to S → collect in number order → check your next section for duplicate stops.
Start reference: s4:82565. 0 glide/drop segments; approximately 0 m of modelled climbing.
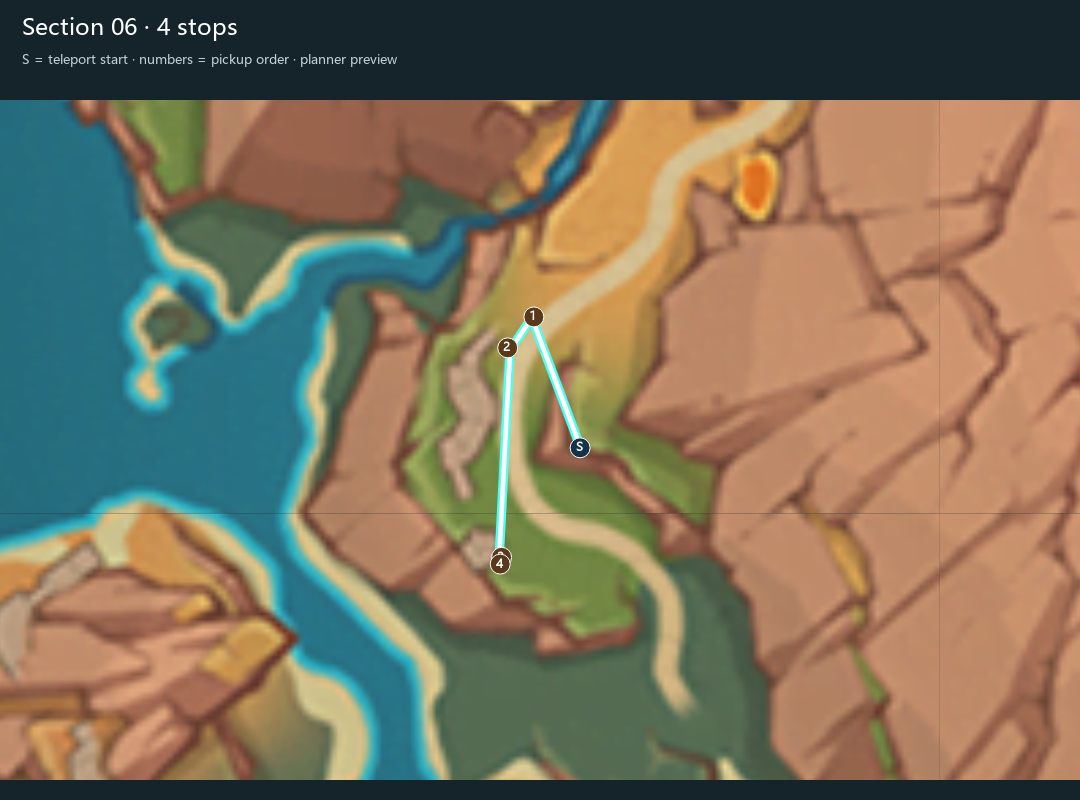
Teleport to S → collect in number order → check your next section for duplicate stops.
Start reference: s4:82565. 0 glide/drop segments; approximately 0 m of modelled climbing.
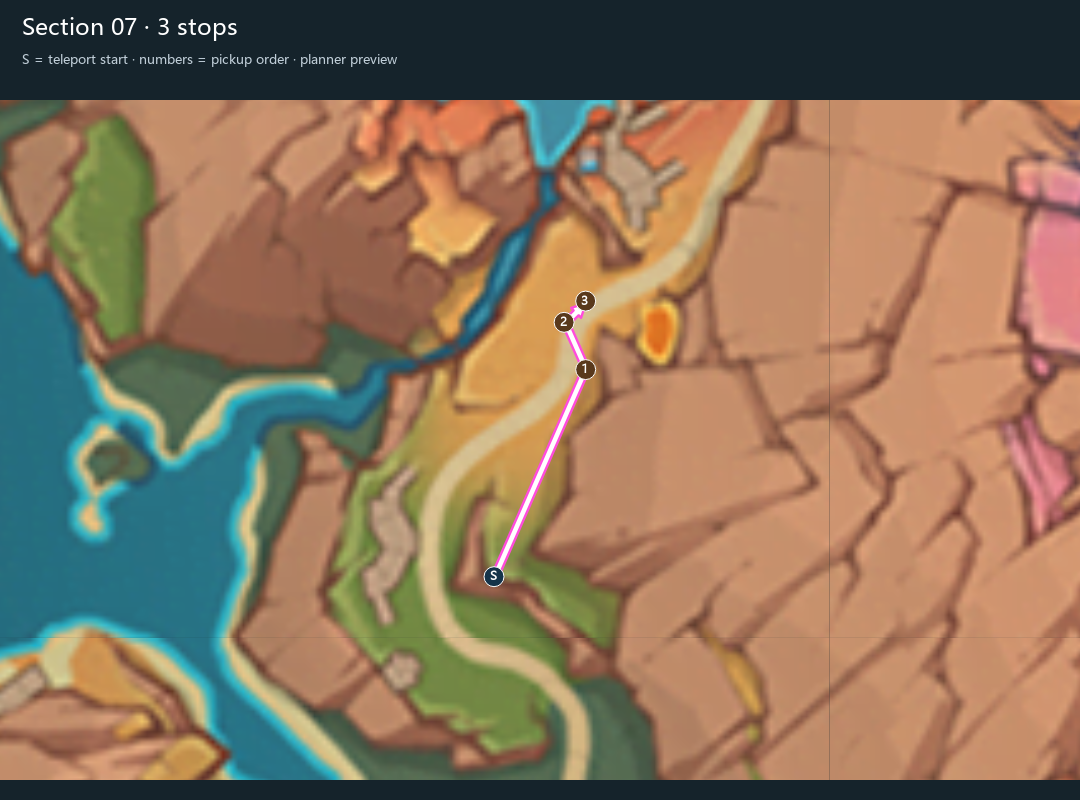
Teleport to S → collect in number order → check your next section for duplicate stops.
Start reference: s4:82571. 0 glide/drop segments; approximately 0 m of modelled climbing.
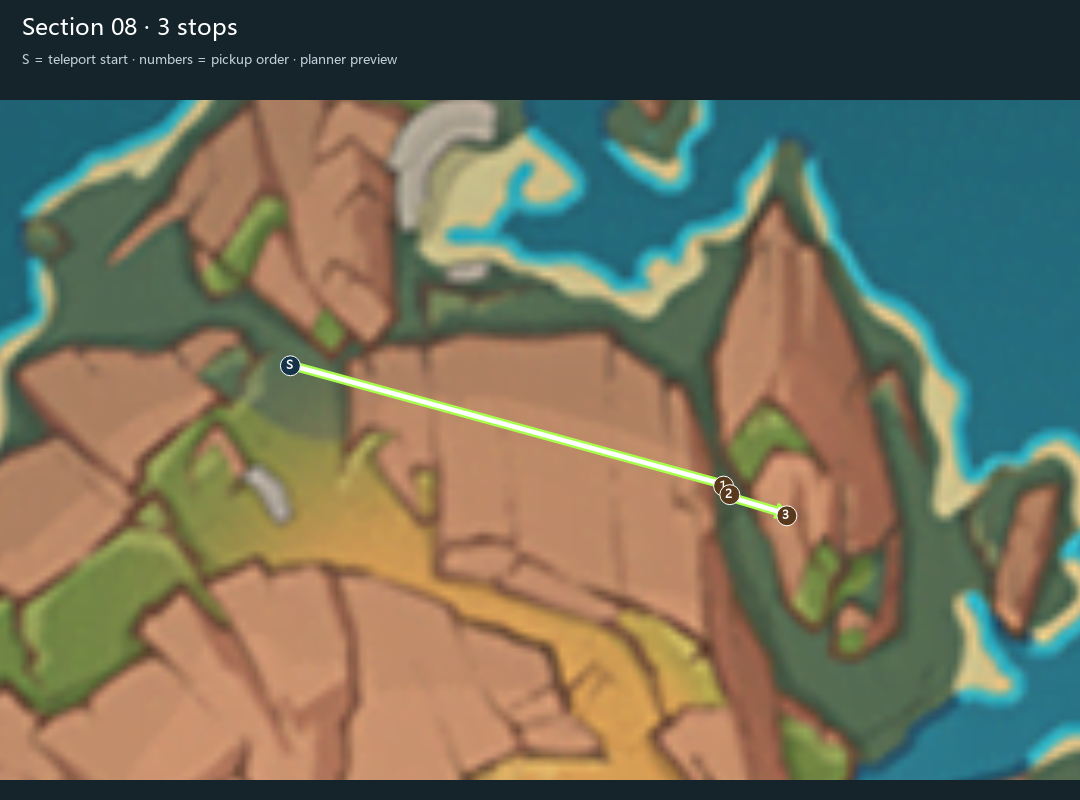
Teleport to S → collect in number order → check your next section for duplicate stops.
Start reference: s4:82560. 2 glide/drop segments; approximately 0 m of modelled climbing.
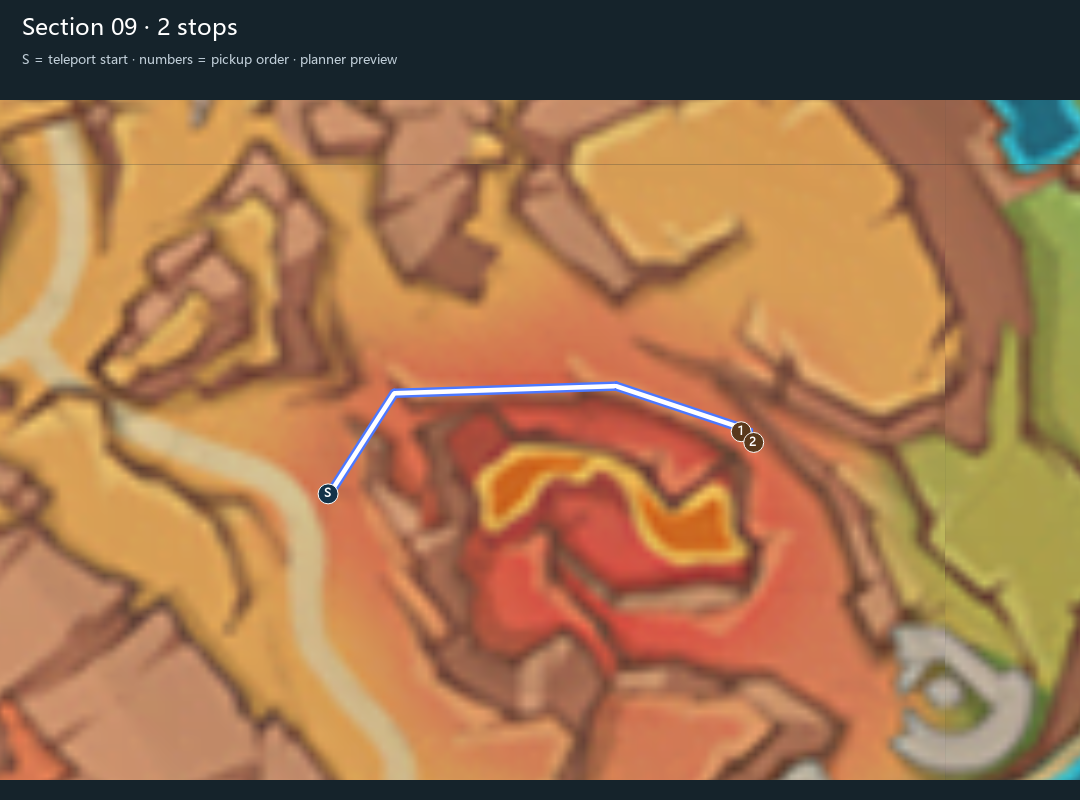
Teleport to S → collect in number order → check your next section for duplicate stops.
Start reference: s4:82560. 1 glide/drop segments; approximately 0 m of modelled climbing.
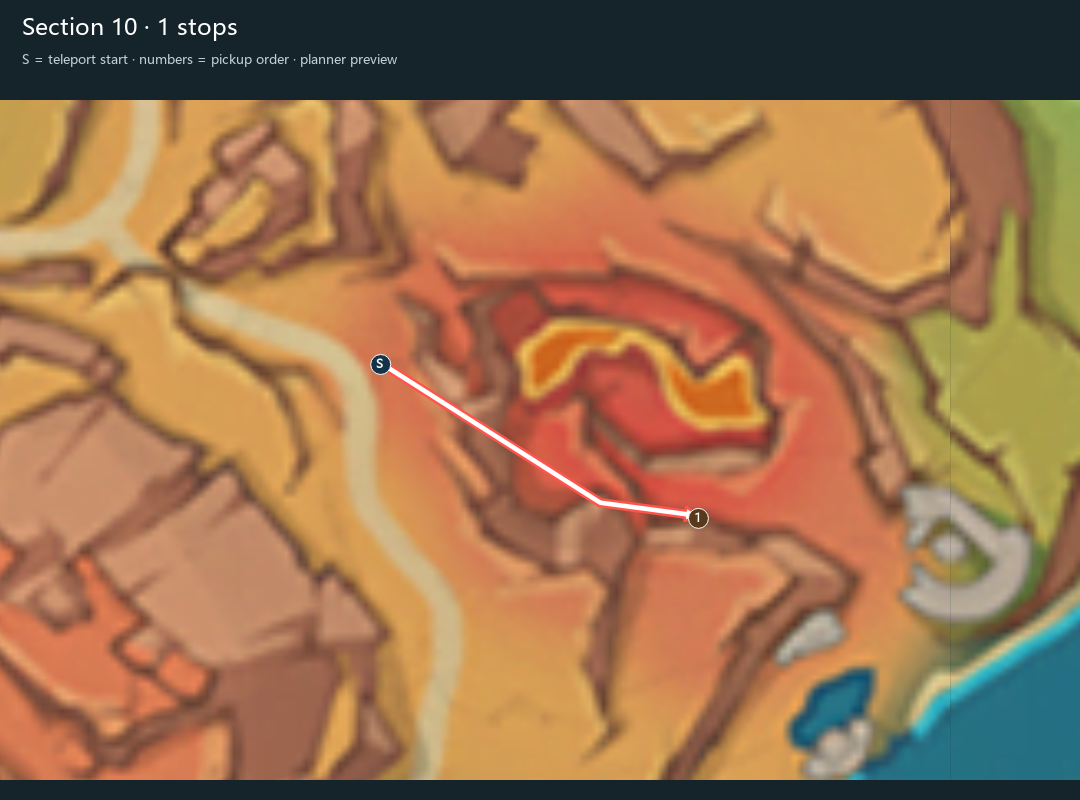
Teleport to S → collect in number order → check your next section for duplicate stops.
Start reference: s4:82566. 0 glide/drop segments; approximately 0 m of modelled climbing.
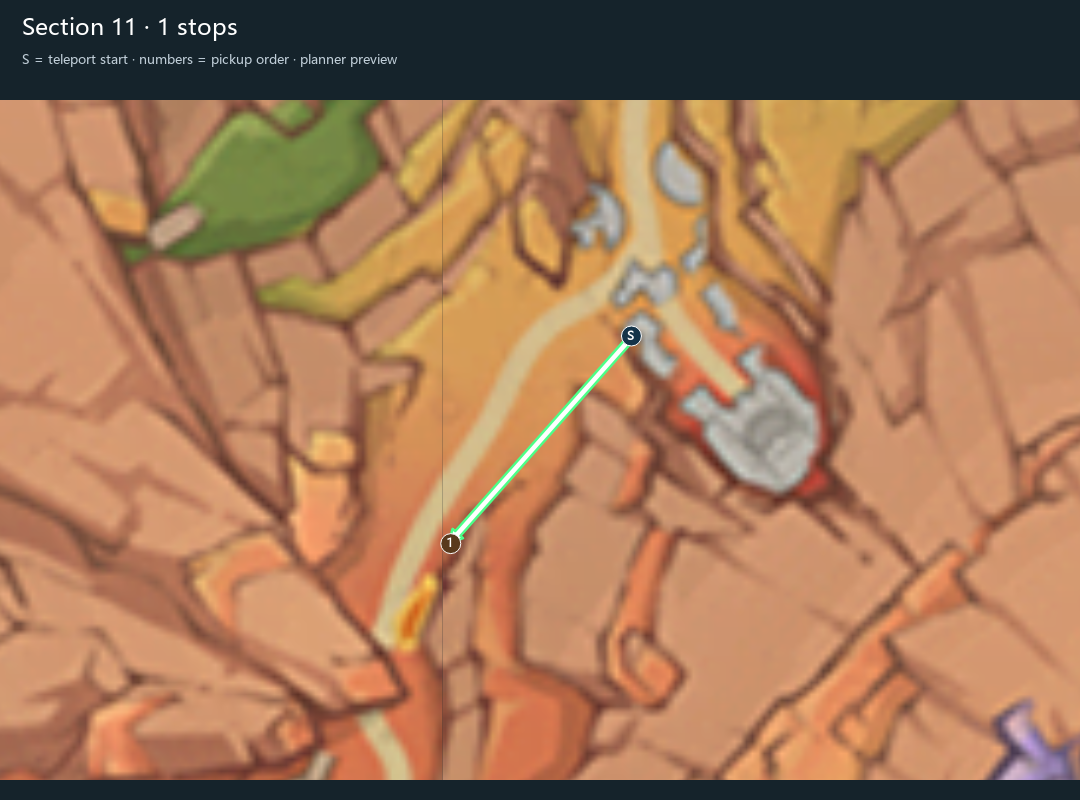
Teleport to S → collect in number order → check your next section for duplicate stops.
Start reference: s4:82560. 2 glide/drop segments; approximately 2 m of modelled climbing.
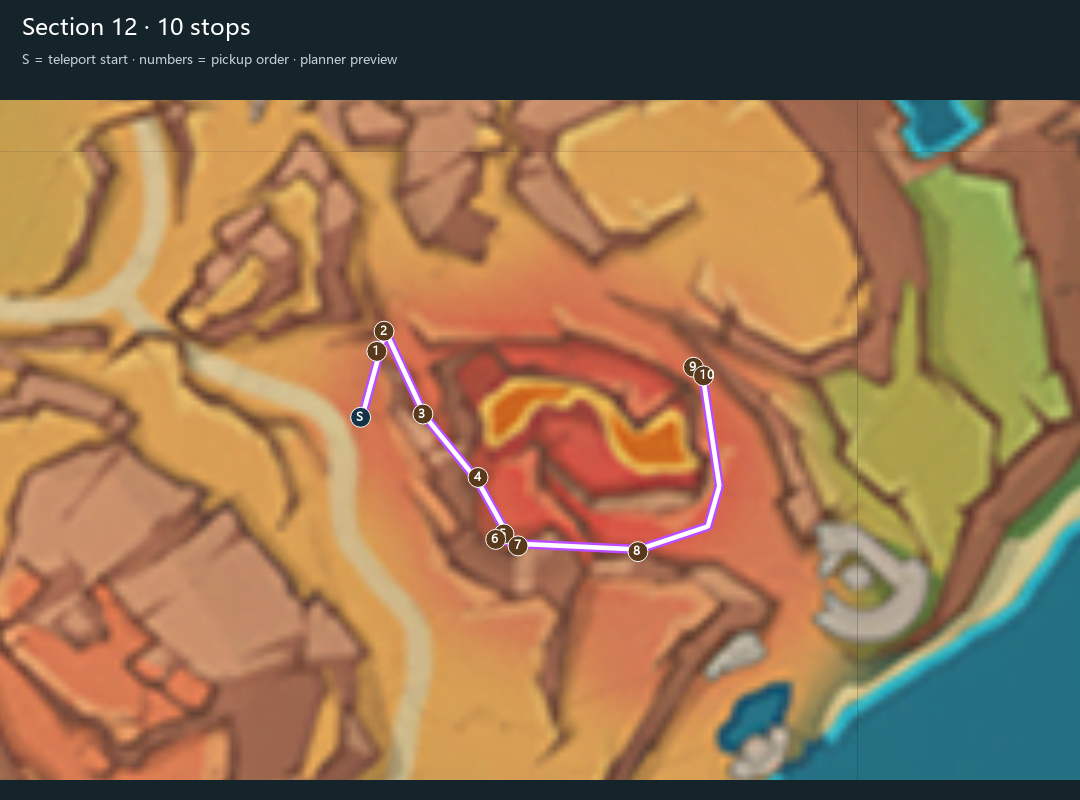
Teleport to S → collect in number order → check your next section for duplicate stops.
Start reference: s4:82565. 1 glide/drop segments; approximately 0 m of modelled climbing.
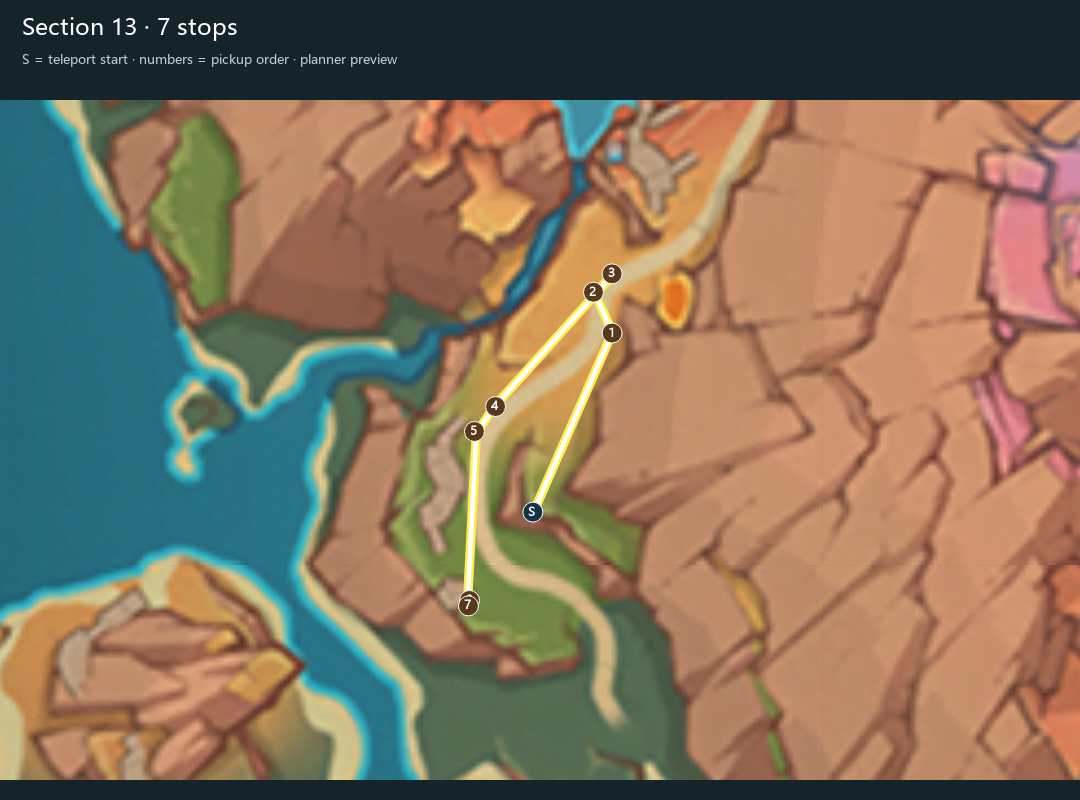
Teleport to S → collect in number order → check your next section for duplicate stops.
Start reference: s4:82566. 1 glide/drop segments; approximately 0 m of modelled climbing.
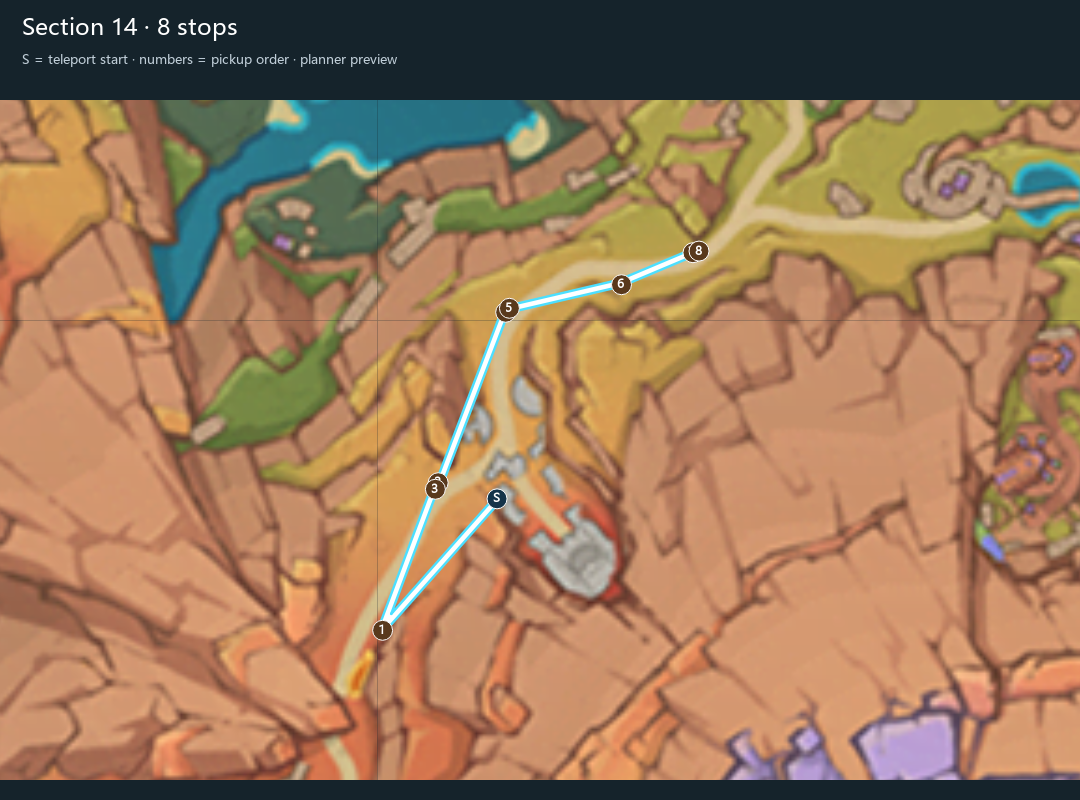
Teleport to S → collect in number order → check your next section for duplicate stops.
25 location pins from the stored data. This image has no verified connecting route and no pickup order. Progress the area’s world quests to unlock access, then choose reachable pins from your unlocked waypoints. Floating islands and different elevations can make a straight-line approach impossible.
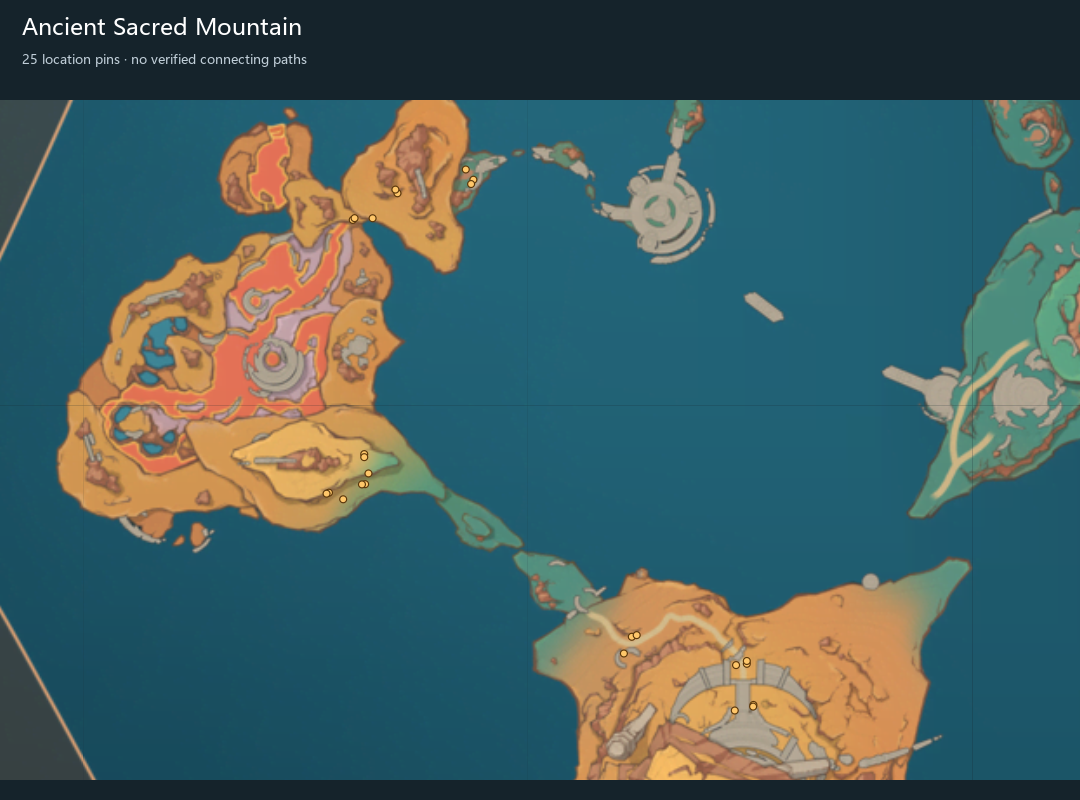
Maps are rendered from the project’s stored HoYoLAB map references and local planner output. This is an independent fan guide. Route counts describe location markers, not guaranteed item yield.